July 12, 2023
How To Record Your Face While Screen Recording

Dominic
Screen recording is so useful when it comes to explaining topics and creating videos that need more visual aids than a blog post or set of instructions.
But do you know what’s better than simply recording your screen?
Adding yourself to that screen recording so you can speak over it, add visual cues, and show the viewer any emotions you might be feeling too.
In this blog post, we’ll show you how you can record your face while screen recording 👇.
As a bonus tip, we’ll also introduce how you can create your screen recording without worrying about where your face is positioned or how you’re presented.
Spoiler alert: you can change all this once you’ve finished recording. Just focus on recording your video then tinker at the end.
1- Sign up to Tella and start using your new face and screen recorder
First up, let’s introduce to you Tella. Sign up at tella.tv and you can start screen recording directly from your browser.
What is Tella?
Tella is an asynchronous video app that allows you to record your screen, your face, and audio.
As one of the only free screen recorders with no time limit, Tella is a must for anyone looking to start recording videos with their face as well as the screen.
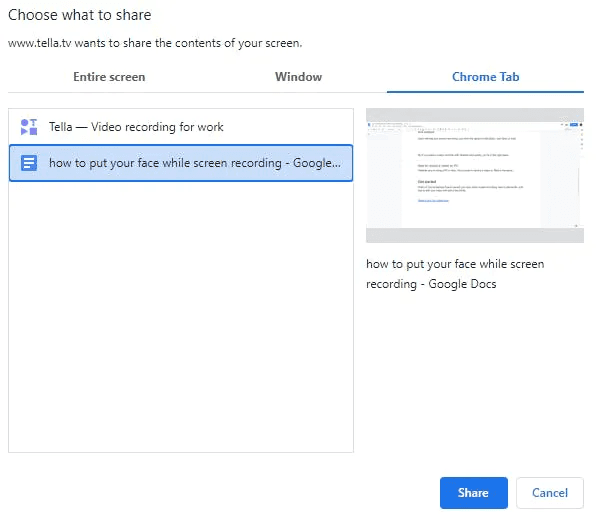
Once you start recording, you can share your entire screen, a window, a specific tab, or any slides you have prepared. If you decide later you'd like to crop something out, that's no problem.
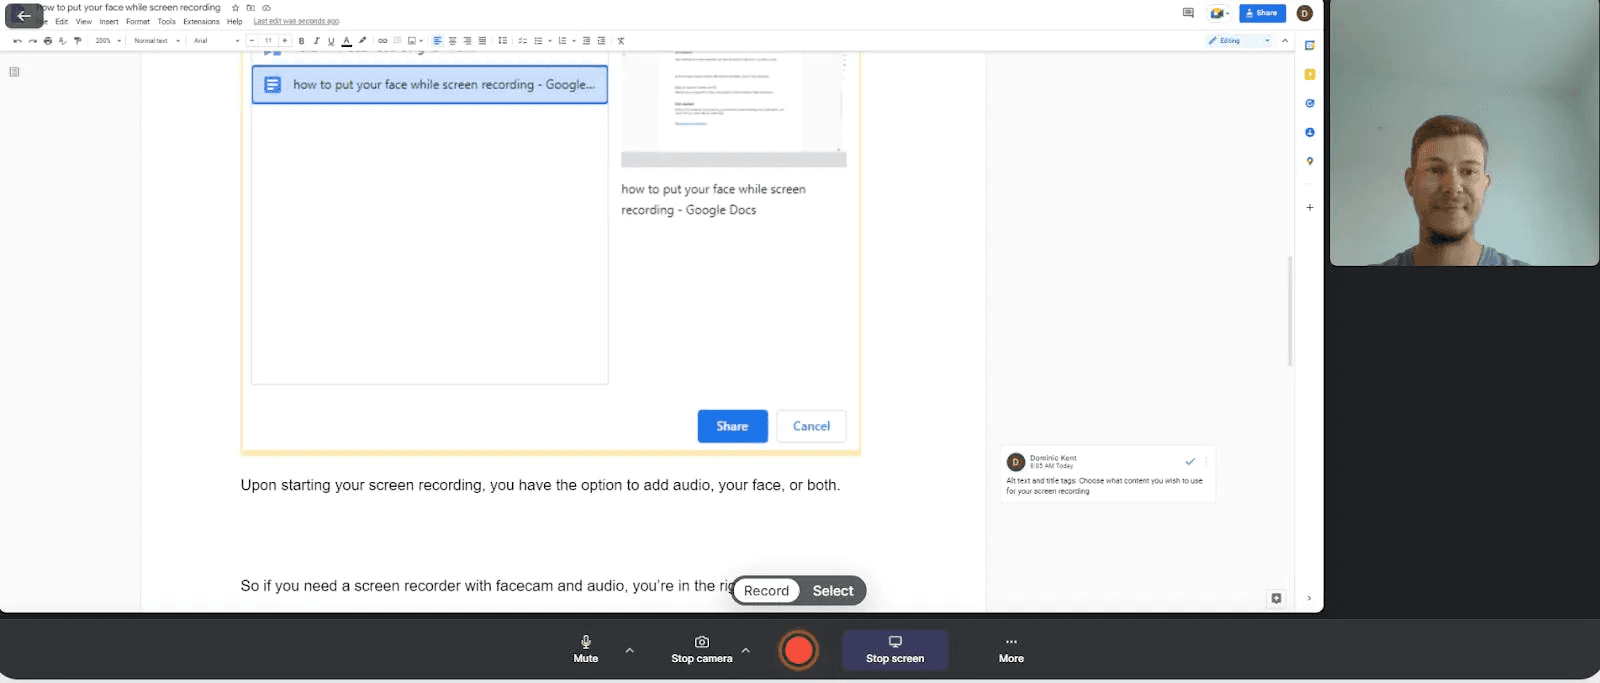
Upon starting your screen recording, you have the option to add audio, your face, or both.
By clicking the Start camera button on the bottom menu, your webcam will launch. If several cameras are detected, you can toggle through which one to use by clicking the ^ arrow next to what has now changed to the Stop camera button.
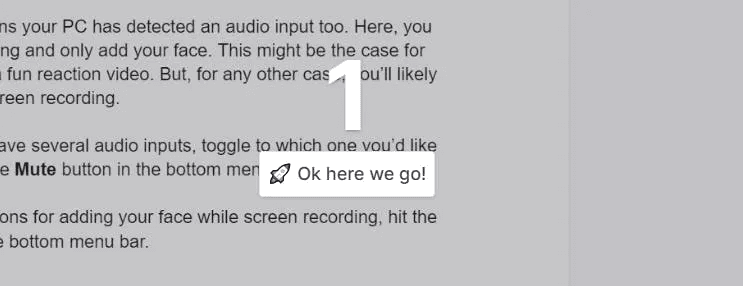
If the Mute button is available, this means your PC has detected an audio input too. Here, you can choose to mute your screen recording and only add your face. This might be the case for videos recorded with sign language or a fun reaction video. But, for any other case, you’ll likely want to record some audio over your screen recording.
Just like the webcam detection, if you have several audio inputs, toggle to which one you’d like to use by clicking the ^ option next to the Mute button in the bottom menu.
Once you’ve chosen your preferred options for adding your face while screen recording, hit the big red record button in the centre of the bottom menu bar.
Tella will then count you down from 3, 2, 1 then you can start recording your video.
So if you need a screen recorder with facecam and audio, you’re in the right place. But that’s not all Tella has in store to help you.
What if your face is in the wrong place after you’ve recorded your video?
Happens all the time. But fear not! Tella has you covered. And you don’t need any video editing experience either…
2 - Edit your face position in a screen recording
One of the best things about Tella is the simple editing menu you’re presented with when you stop recording.
Here, you can do things like:
Add subtitles
Mirror your camera
Re-record your video
Add a custom background
Add a templated background
Change your video orientation
Trim unneeded parts of your video
Add a rounded/straight/coloured border
Adjust the position of your face recording
It’s the adjusting of your face recording that comes in handy time and time again.
Just think about the consequences of putting your face over your screen recording in about the worst position possible.
You’ve got three scenarios:
Record the entire video again.
Go ahead with the video as is (and hope nobody minds they can’t see crucial parts of the screen).
Record a snippet of the video again and merge clips (Tella can do that too; see video below!).
Or let Tella save the day…
The most used and most underrated editing tool in Tella is the ability to adjust where your face appears after you finished recording.
All you need to do is click the Layout button in the editing menu and choose where you’d prefer your face to be.
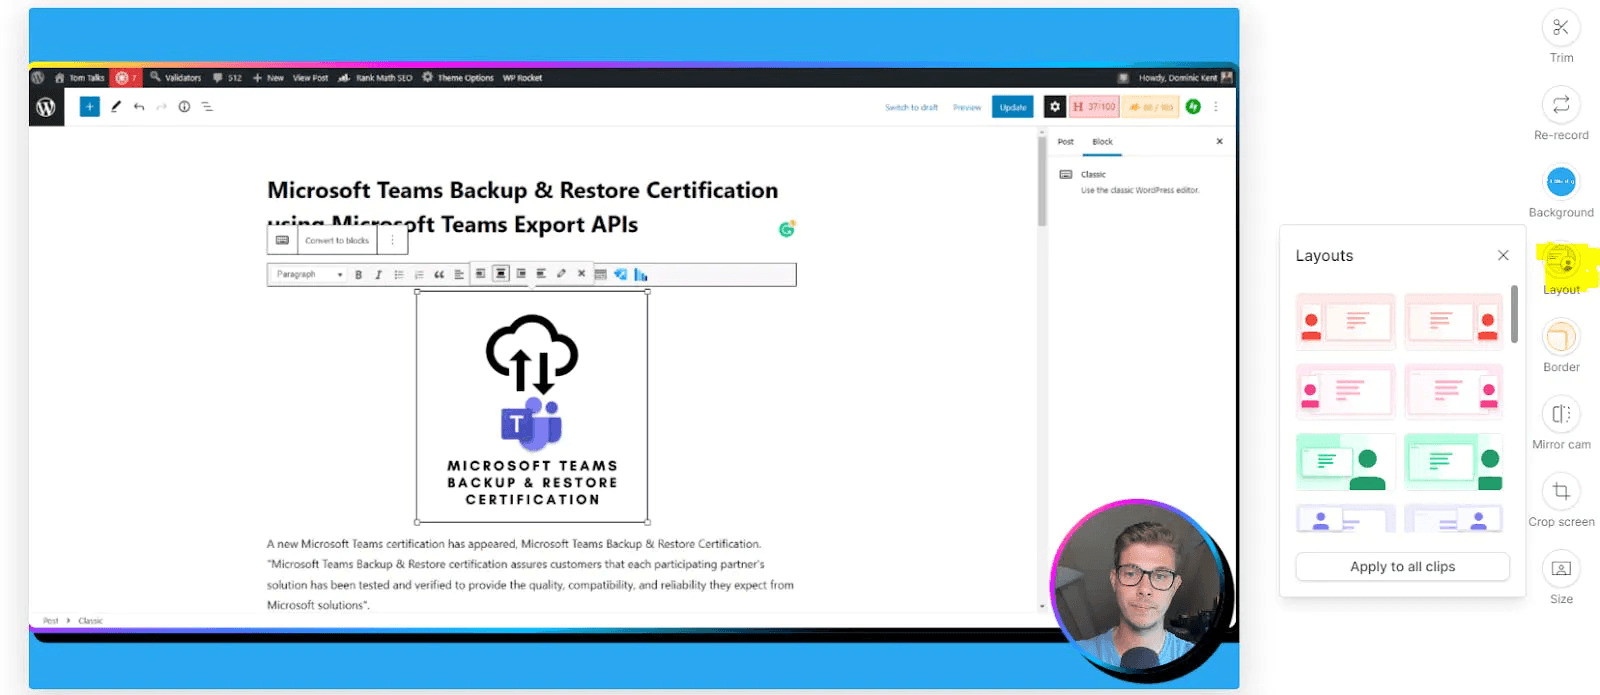
You can change the shape of your face recording here too. Notice how my face recording changed from a circle in the bottom right to a rectangle on the middle left.
When you’re done editing and are happy with your video, click Finish.
You’re now ready to share the video via a unique URL or download your video ready to upload to YouTube. Videos download in a friendly format so there’s no need to mess around with converting to MP4.
Whether you’re recording on a PC or Mac, the process is exactly the same.
How to record a video on PC
Whether you’re using a PC or Mac, the process to record a video on Tella is the same.
As a browser-based screen recorder, all you need is access to the internet and you can record your face while screen recording.
Regardless of the browser or operating system, head to tella.tv to start recording your video.
In fact, Tella for Chrome 3.0 is now available!
You can install and pin the Tella Chrome extension to start recording videos without even needing to type something into your browser.
Watch how to start screen recording (with your face and audio) directly from Chrome.
If you’ve got an HP Envy, read about how the Envy + Tella combo is 🔥 here:
How To Screen Record On Your HP Envy
Get started
That’s it! You’ve learned how to record your face while screen recording, how to add audio, and how to edit your video with just a few clicks.
People use Tella for things like:
Product Hunt launch demos
SaaS onboarding flows
User feedback videos
Podcast audiograms
Product tutorials
And so much more!
You might be creating an online course or growing a Slack community. It might be to increase engagement on social media or enable better culture when remote working.
Whenever you need to add your face while screen recording, we’re confident Tella is a great option.